Thursday, November 8, 2012

Monkey Bread


I'm not even going to search Pinterest (or the rest of the internet) for the origin of this recipe because I got it the old-fashioned way: from a friend, pre-Pinterest era.

I was talking to my friend Shawna about a family recipe I had (shout out to Aunt Gin - it's her recipe -yum!) for monkey bread that you make the night before and let it sit in the cold oven overnight. After I explained all the steps and ingredients she said to me "ok, listen to the recipe I use..." The one she gave me had about 3 steps and 3 ingredients and I was sold. SO great and SO easy. I don't make this all the time because I want it to remain special (it's part of our Christmas morning tradition, and sometimes we do it on birthdays for breakfast).

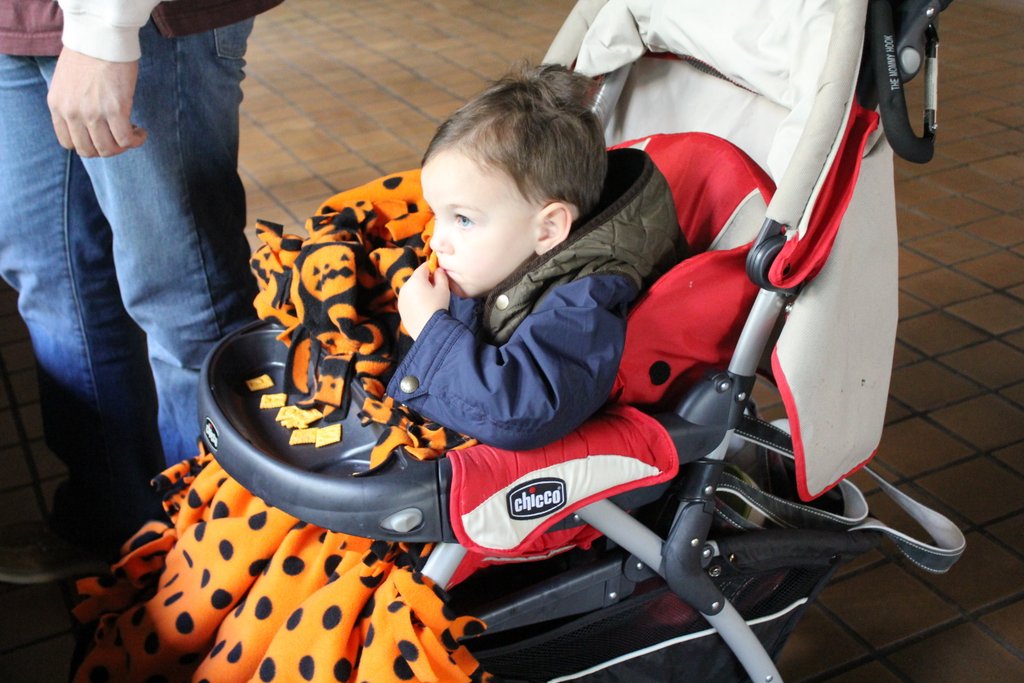
A couple of weeks ago we had this for breakfast on a certain little 2-year-old's birthday before we headed to the zoo. He loves it like we do:)

Ingredients:
1 package of Rhodes frozen cinnamon rolls with cream cheese icing
1/4 C crushed graham crackers & 1/4 C brown sugar, mixed together

Instructions:
Before bedtime, spray a bundt pan with cooking spray (make sure to get good coverage all over, you will thank me for that tip) and put 6 of the frozen rolls in the bottom of the pan. Sprinkle the crackers/sugar mixture over the rolls, then place the other rolls on top. Spray a piece of plastic wrap and cover the pan, then let the rolls sit/rise in the cold oven overnight. When you get up in the morning, take the plastic wrap off then bake at 350 for about 25 minutes (I don't preheat, I just turn it on). After it's done, take it out and flip them over onto a platter and cover it all with the cream cheese icing (I just let the icing packages set out on the counter all night so it's nice and soft). Then, try not the eat the whole thing and you'll have leftovers for breakfast (or dessert) for a couple of days!


{The morning after. Sometimes they rise a lot more because they were in there longer - it totally doesn't matter}


{My vanity wants me to tell you that you can make this a LOT prettier by putting the icing in a fine-tipped squeeze bottle and drizzle it on - either way it tastes the same;)}


Friday, November 2, 2012

Birthday Zoo

We went to the zoo on Levi's actual birthday. Having his party a little early allowed us to just have a low key/low stress day to enjoy our boy, so that's what we did. My mother has been asking to see these pictures, so here you go Mom.

It was very cold and we took it slow so we just covered about half the zoo. Which animal was Levi's favorite? The train and the playground. So we camped out at those two animals for quite a while/rode several times. :)


Tuesday, October 30, 2012

Project Post 28: Mudroom Wall

We moved into our house in February 2010, and I started brainstorming for this project shortly after that. After Pinterest launched and became widely used, I started finding lots of inspiration for this little project I wanted to tackle.

Here was my dilemma: our laundry room is also the walkway between the door to the garage (which is the door we use to enter the house 99% of the time; guests enter through the front door) and the rest of the house; meaning, it is a widely used, high-traffic area. It not only is a main source of traffic, but also used daily for laundry (I have a toddler, hel-lo), and up until a couple of weeks ago, it was the place we bathed my son every single day of his life (there's a huge tub-sink in there). I mentioned all of that to stress what a popular place this room is.


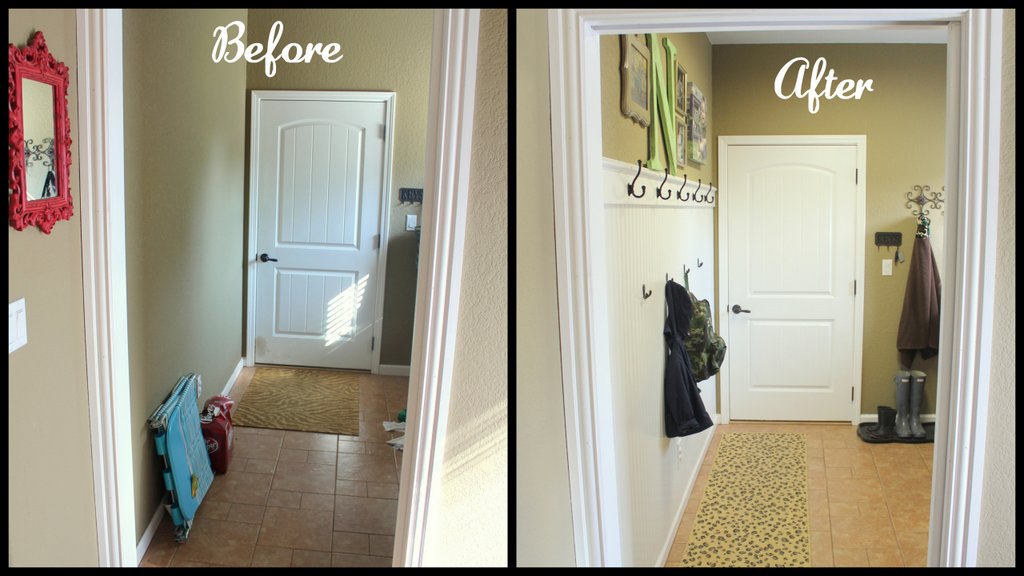
{Laundry room / walkway BEFORE}
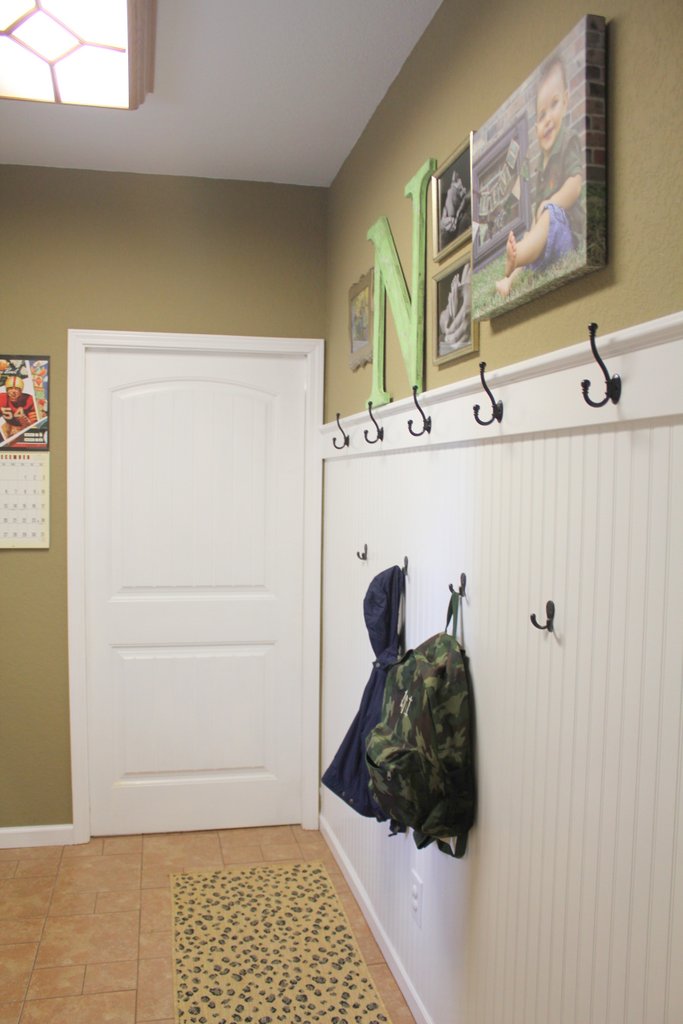
You can see in the picture above that there is just a long blank wall on the left side of the room, and the doorway from the kitchen (there is a pocket door there, it stays open unless there is laundry going) and the door to the garage butt up against the wall so that there is no possible room to put a piece of furniture or any kind of organizational/functional anything there, without running into it every time you come or go. I really wanted a way to utilize this wall for storage or some kind of functional space. Our "landing strip" or "dumping post" for purses, diaper bags, and miscellaneous junk we bring in from the car was usually the kitchen table or island and it drove me insane. I wanted those things to have a "spot" out-of-site and not where we dine. The problem is now solved and it's beautiful!

Here is where my inspiration comes in. I saw a couple of these little projects in different posts on Young House Love, and the rest I found browsing Pinterest.

{Sources for 1, 2, 3}


{Sources for 4, 5}

I showed Tyler my inspiration pictures and he was on board and thought it was a good idea. After I pinched myself to make sure it wasn't a dream, I asked if we could do it that weekend and he said ok.......................(wait, WHAT?!) This was back in June and the reason it has taken me so long to share it, well, there is no good reason. It took me a good two months to get it painted and purchase a rug (yes, that's important) and take, upload, and edit some pictures.
We decided to go with bead board instead of doing the more craftsman-style option (which I do love) for 3 reasons:
1. There is really nothing about our house that is craftsman style
2. We couldn't just use 2x4s and paint the sheet rock because our walls are way over-textured (our painter called it a "Mexico house" and I absolutely agree - our drywall guys didn't listen)
3. Our cabinets throughout the house have a bead board panel so the bead board really works the best
 
The pictures will explain the rest:
 
{Before}
 
{Before}


{During Painting}


Related Posts Plugin for WordPress, Blogger...