Showing posts with label projects. Show all posts

Friday, January 25, 2013

Project Post 29: Levi's Train Table

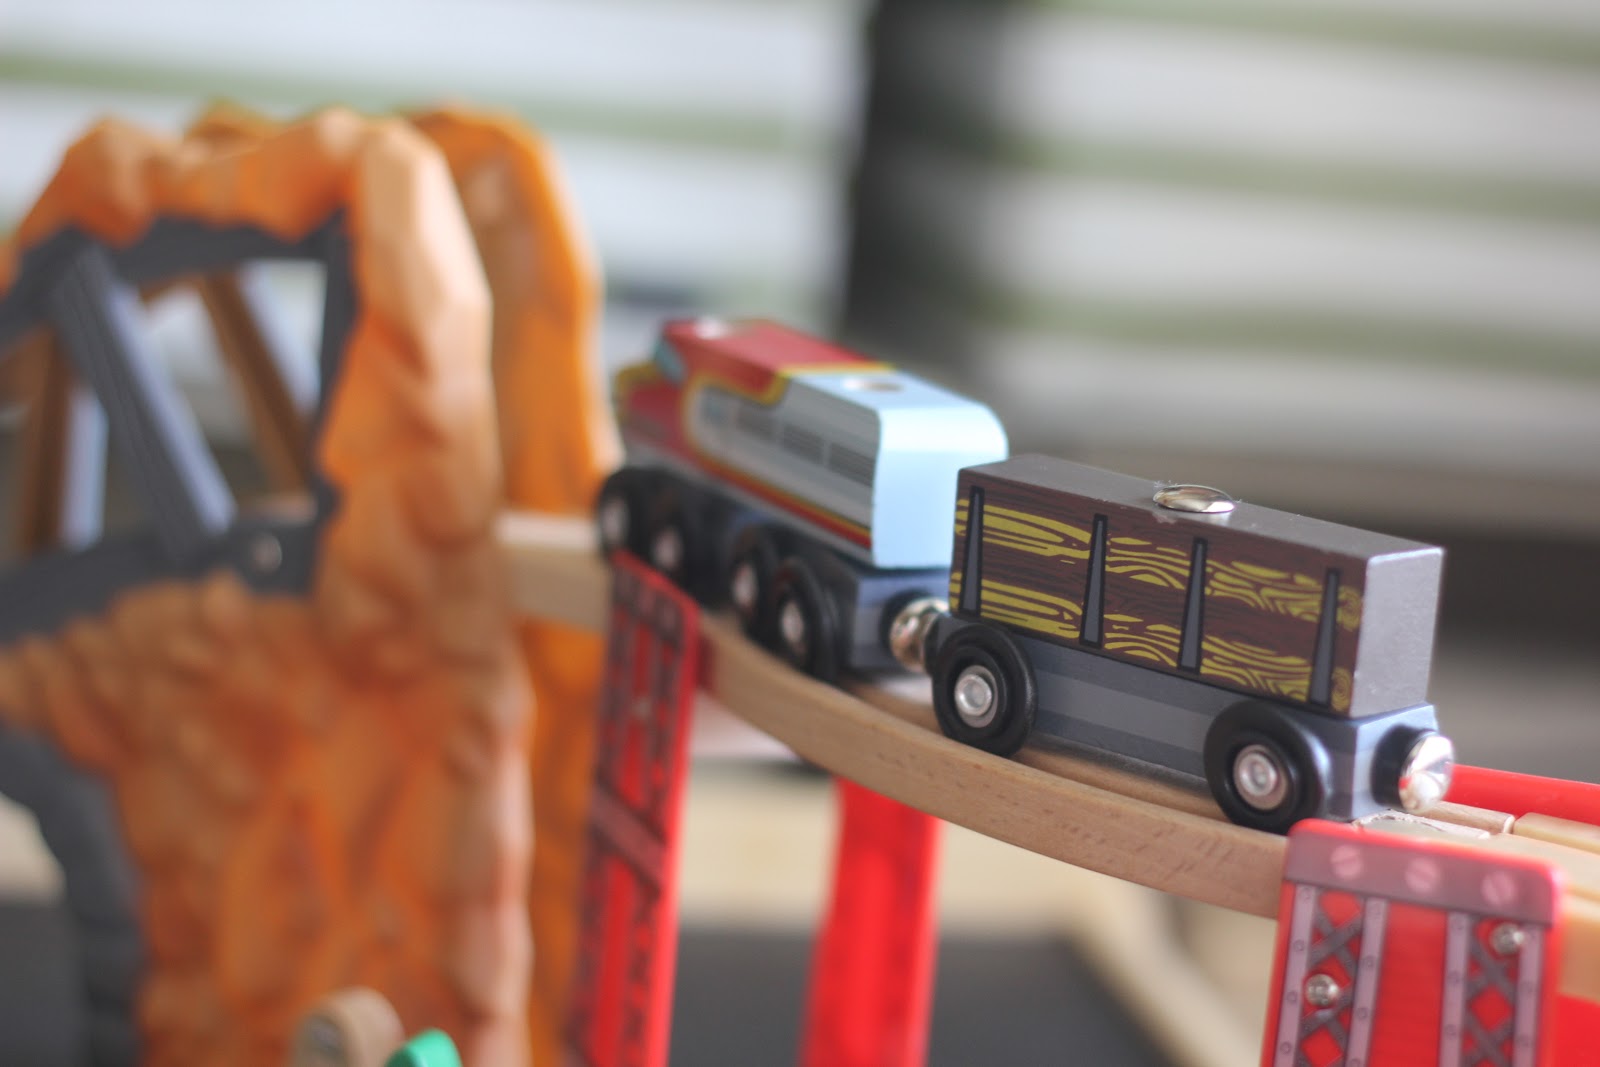
Greetings from a brand-new computer with a working keyboard! I really feel like I'm cheating by titling this a "project post," because it alludes to the idea that we worked hard and built a train table and I'm getting ready to tell you all about it, when what we really did was purchase a train table for a good deal and I spray painted a board and called it a project. Good thing this is my blog which means I make the rules, otherwise I'd be fired.

Let's go back in time to October 2012, pre-Levi's birthday. My sister told me she had seen a good deal on a little Kidkraft train table at a store the next town over (shout out to Lowry's - where I worked during college - neat store and great people). I went over to look at the table and bought it for $40 (I had a $50 gift card that the Lowry's gave me for college graduation, so really, they gave it to me for graduating college - score! Thanks guys :) ) 

The MSRP for the table is $139. There were a few reasons it was discounted - some missing pieces and a couple of cosmetic bruises underneath in the storage area (not visible). One side of the table is to set up a train track and the other side is a lego table. We'll be leaving it on the train side for quite a while because we are not really into small legos (not age-appropriate anyway), but we LOVE trains.

{Stock photo found here}
The little "scene" on the train table was for an airport and after looking up product photos, not even half of the pieces were there. I was prepared to buy some new pieces and had not thought much about it (the table was sitting in the guest room for a while - out of site and out of mind) and while at Marshall's one day, I struck gold. I was shopping in the toy section and ran across a Kidkraft Construction Zone 60-piece Train Set (made for Kidkraft train tables). I had not researched yet to find out they even made different train sets for the tables, and I was SO excited to find that. Trains AND construction??? Wow.


The train set that was suppose to come with our table (the set with missing pieces) was an airport train set. I knew the "scene" painted on the table wasn't going to work well with our new construction site scene. Since the actual train set has 60 colorful/busy little pieces, I decided that it would be a good idea to just spray paint over the airport scene with a solid color. Since I already had a can of black chalk board paint, it was the winner. It definitely makes the table a lot less cluttered-looking, which is important since I have an irrational fear of toy-clutter in my home (I've explained before that since our living-kitchen-dining/main living space is just one large room, I work REALLY hard not to clutter it up with junk and toys). Last week, upon visiting our house for the first time, our friend and speech therapist said after she toured it, "ok, where are all the toys?" Best compliment ever - thanks Mis! 

I love the results. Maybe one day when Levi is an adult, he will read through my blog archive and appreciate this (ha). Tyler put together all the pieces that required a drill/screw gun and it was my job to set it up. It took me quite a while because I realized that this set was for the bigger-sized Kidkraft train table and I wanted to use all the pieces...plus I do not have an engineering mind. I finally made it work after hours of trying and successfully used all the pieces. Now if I can just keep my boy from tearing it apart:) .........(I will probably glue it together).

{The "airport" scene}


The pictures above show the table top before I spray-painted it, and the next two show it after it was painted and the set was (painstakingly) configured and put together. I love it painted black - it allows you to just focus on the little train set and not get all overwhelmed by a million other illustrations.  We're about to have some serious post-nap train time right now. Choo choo! Happy weekend!


Tuesday, January 8, 2013

White Plate "Collage"

After a month of no posting, here I am. December was a month of chaos, and as other priorities rose above playing on the internet, there was no time left in the mix for conjuring up any posts. Things are getting back to normal, and I'm here (though you might see me a little less often than you used to).

I started a little white plate collection a few years ago, and I always intended on putting them up in a random pattern collage, like these:

{source here)
 ...but with less order/shape.

{source here}
 I don't have this many plates (yet), but I like this.

{source here}
My plates were just stacked up in my dining hutch until I thought of where to put them and it finally donned on me that I should put them in a line (instead of a collage) above my kitchen cabinets because it was bare up there. I think it's pretty charming and it subtly takes focus off of the fact that there is no crown on that back wall and a very crooked paint line (for reasons beyond my control)  ;) I will probably add more to them.


Monday, November 19, 2012

Anna's Musical Wreath


I can't claim this project as my own although I am going to write about it because I love it! My aunt Cindy and uncle Mark made this wreath for my grandma (Anna) for her birthday. Anna is passionate about music and has been a member of her church choir for over 50 years; thus, something musical is always a good gift idea for her.

My aunt sketched out a treble clef on a piece of plywood and she and my uncle cut it out with a jigsaw....freehanded! (wow) Then they painted it black, drilled a bunch of holes, and stuck a Christmas light bulb in each hole (labor of love!). Then the treble clef was attached to a basic wreath with black pipe cleaners. My aunt asked me to help run some silver metallic glittery ribbon through the wreath, and later I found out that it was because she knew it would make a big glittery mess all over the floor, and my floor was perfect for that! (kidding)
My grandma loved her wreath (I heard she cried) and can't wait to display it on the wall of her porch, to share with all the world. I will try to add a better picture later once she has it displayed. Good job Aunt Cindy & Uncle Mark!


Tuesday, October 30, 2012

Project Post 28: Mudroom Wall

We moved into our house in February 2010, and I started brainstorming for this project shortly after that. After Pinterest launched and became widely used, I started finding lots of inspiration for this little project I wanted to tackle.

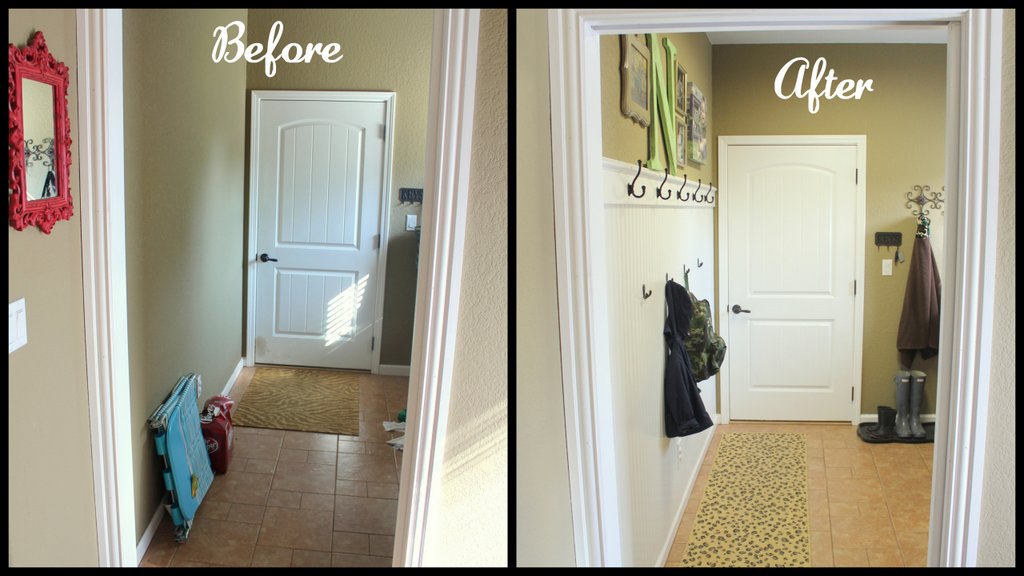
Here was my dilemma: our laundry room is also the walkway between the door to the garage (which is the door we use to enter the house 99% of the time; guests enter through the front door) and the rest of the house; meaning, it is a widely used, high-traffic area. It not only is a main source of traffic, but also used daily for laundry (I have a toddler, hel-lo), and up until a couple of weeks ago, it was the place we bathed my son every single day of his life (there's a huge tub-sink in there). I mentioned all of that to stress what a popular place this room is.


{Laundry room / walkway BEFORE}
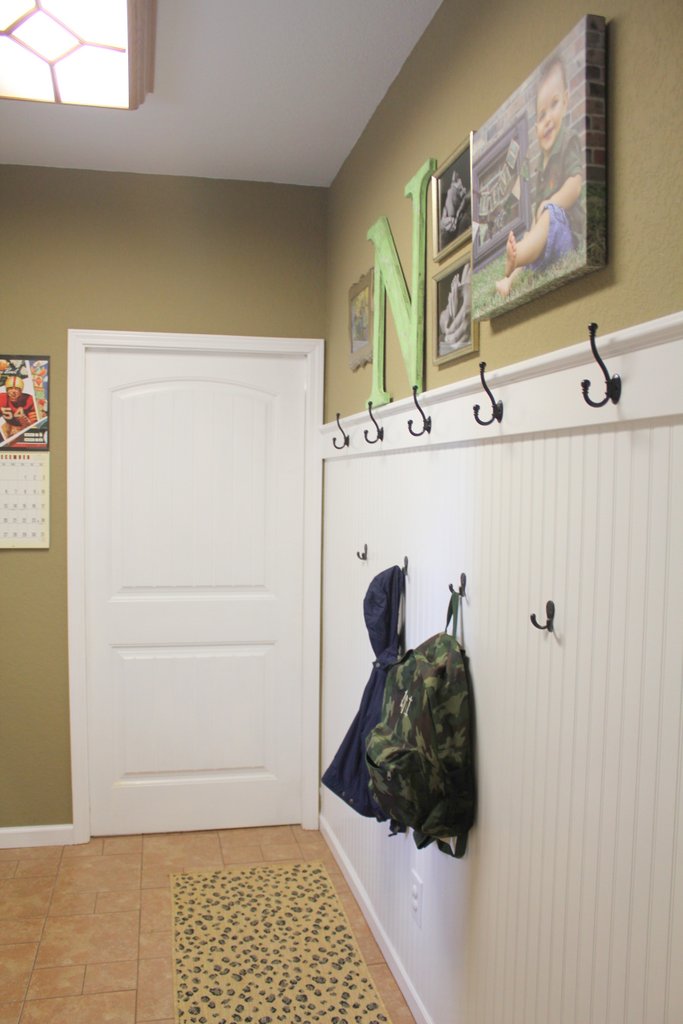
You can see in the picture above that there is just a long blank wall on the left side of the room, and the doorway from the kitchen (there is a pocket door there, it stays open unless there is laundry going) and the door to the garage butt up against the wall so that there is no possible room to put a piece of furniture or any kind of organizational/functional anything there, without running into it every time you come or go. I really wanted a way to utilize this wall for storage or some kind of functional space. Our "landing strip" or "dumping post" for purses, diaper bags, and miscellaneous junk we bring in from the car was usually the kitchen table or island and it drove me insane. I wanted those things to have a "spot" out-of-site and not where we dine. The problem is now solved and it's beautiful!

Here is where my inspiration comes in. I saw a couple of these little projects in different posts on Young House Love, and the rest I found browsing Pinterest.

{Sources for 1, 2, 3}


{Sources for 4, 5}

I showed Tyler my inspiration pictures and he was on board and thought it was a good idea. After I pinched myself to make sure it wasn't a dream, I asked if we could do it that weekend and he said ok.......................(wait, WHAT?!) This was back in June and the reason it has taken me so long to share it, well, there is no good reason. It took me a good two months to get it painted and purchase a rug (yes, that's important) and take, upload, and edit some pictures.
We decided to go with bead board instead of doing the more craftsman-style option (which I do love) for 3 reasons:
1. There is really nothing about our house that is craftsman style
2. We couldn't just use 2x4s and paint the sheet rock because our walls are way over-textured (our painter called it a "Mexico house" and I absolutely agree - our drywall guys didn't listen)
3. Our cabinets throughout the house have a bead board panel so the bead board really works the best
 
The pictures will explain the rest:
 
{Before}
 
{Before}


{During Painting}


Friday, September 21, 2012

Bulletin Boards

I mentioned before (in this post) that I was a chairperson for a bulletin ministry in our church. We have very limited funds for it and often reuse supplies already on hand -- I say that so you can take it into consideration when you judge the work ;)

It is a fun ministry to be involved in. The iPhone bulletin board has definitely been a crowd favorite so far - believe it or not it has risen above to be the most viewed post I've ever published here - it gets about 50 daily page views (sometimes a lot more on higher-circulation days) from Google Images and Pinterest.

I wanted to show a couple of other bulletin boards we've done recently. The first one was up for a period in the summer and it showcased baptisms we had over the summer (we are very blessed to be a part of a church that has salvation decisions and baptisms nearly every week) and also upcoming summer events. The second is currently up now and it is a football themed bulletin board. We have a growing college ministry and have a large group of football players from a local college who have been attending. Our small town is really into high school football too, so I thought a football bulletin board would be appropriate and fun for fall.


Related Posts Plugin for WordPress, Blogger...