
Let's go back in time to October 2012, pre-Levi's birthday. My sister told me she had seen a good deal on a little Kidkraft train table at a store the next town over (shout out to Lowry's - where I worked during college - neat store and great people). I went over to look at the table and bought it for $40 (I had a $50 gift card that the Lowry's gave me for college graduation, so really, they gave it to me for graduating college - score! Thanks guys :) )
The MSRP for the table is $139. There were a few reasons it was discounted - some missing pieces and a couple of cosmetic bruises underneath in the storage area (not visible). One side of the table is to set up a train track and the other side is a lego table. We'll be leaving it on the train side for quite a while because we are not really into small legos (not age-appropriate anyway), but we LOVE trains.
 |
| {Stock photo found here} |
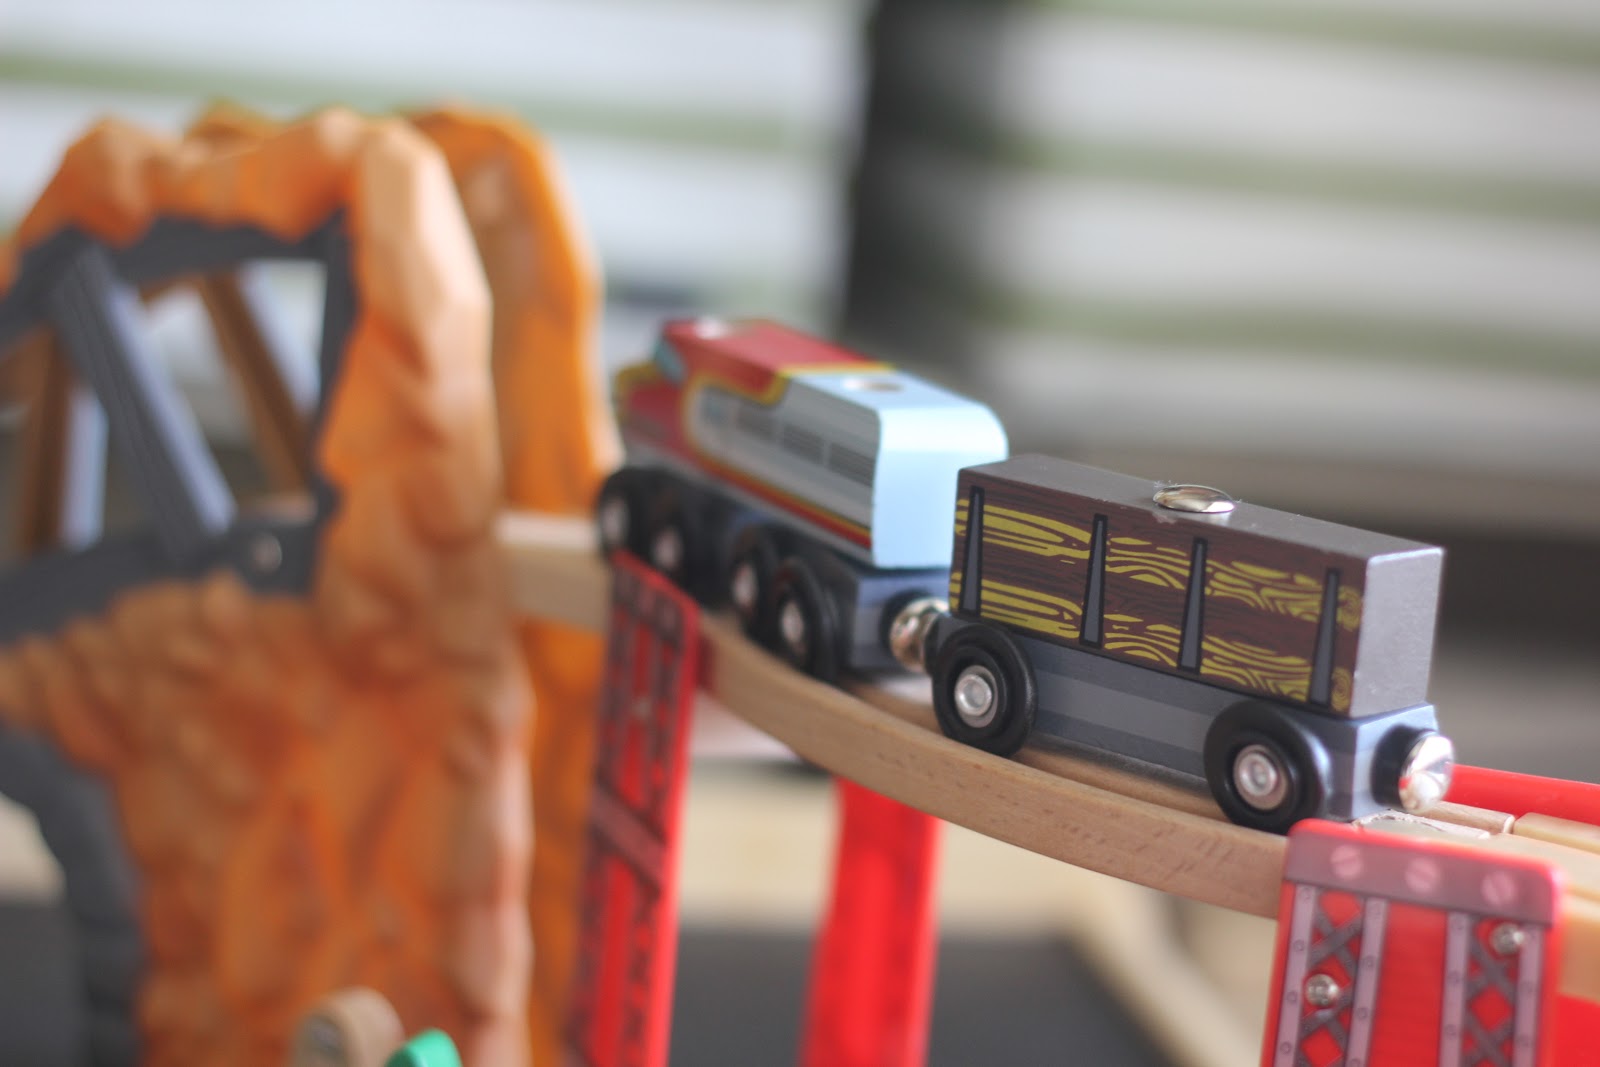
The little "scene" on the train table was for an airport and after looking up product photos, not even half of the pieces were there. I was prepared to buy some new pieces and had not thought much about it (the table was sitting in the guest room for a while - out of site and out of mind) and while at Marshall's one day, I struck gold. I was shopping in the toy section and ran across a Kidkraft Construction Zone 60-piece Train Set (made for Kidkraft train tables). I had not researched yet to find out they even made different train sets for the tables, and I was SO excited to find that. Trains AND construction??? Wow.

The train set that was suppose to come with our table (the set with missing pieces) was an airport train set. I knew the "scene" painted on the table wasn't going to work well with our new construction site scene. Since the actual train set has 60 colorful/busy little pieces, I decided that it would be a good idea to just spray paint over the airport scene with a solid color. Since I already had a can of black chalk board paint, it was the winner. It definitely makes the table a lot less cluttered-looking, which is important since I have an irrational fear of toy-clutter in my home (I've explained before that since our living-kitchen-dining/main living space is just one large room, I work REALLY hard not to clutter it up with junk and toys). Last week, upon visiting our house for the first time, our friend and speech therapist said after she toured it, "ok, where are all the toys?" Best compliment ever - thanks Mis!
I love the results. Maybe one day when Levi is an adult, he will read through my blog archive and appreciate this (ha). Tyler put together all the pieces that required a drill/screw gun and it was my job to set it up. It took me quite a while because I realized that this set was for the bigger-sized Kidkraft train table and I wanted to use all the pieces...plus I do not have an engineering mind. I finally made it work after hours of trying and successfully used all the pieces. Now if I can just keep my boy from tearing it apart:) .........(I will probably glue it together).
 |
| {The "airport" scene} |


The pictures above show the table top before I spray-painted it, and the next two show it after it was painted and the set was (painstakingly) configured and put together. I love it painted black - it allows you to just focus on the little train set and not get all overwhelmed by a million other illustrations. We're about to have some serious post-nap train time right now. Choo choo! Happy weekend!


No comments:
Post a Comment