
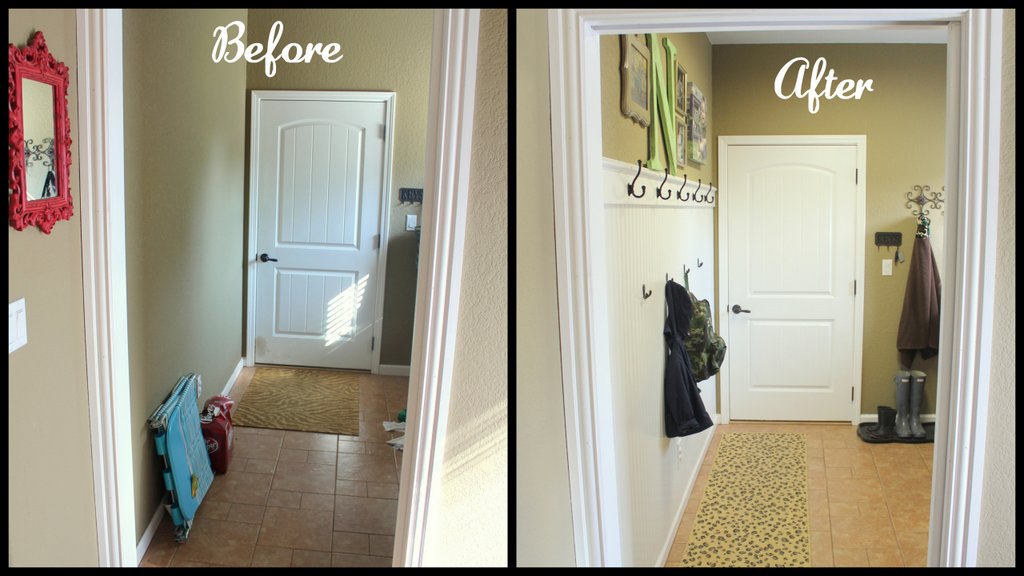
Here was my dilemma: our laundry room is also the walkway between the door to the garage (which is the door we use to enter the house 99% of the time; guests enter through the front door) and the rest of the house; meaning, it is a widely used, high-traffic area. It not only is a main source of traffic, but also used daily for laundry (I have a toddler, hel-lo), and up until a couple of weeks ago, it was the place we bathed my son every single day of his life (there's a huge tub-sink in there). I mentioned all of that to stress what a popular place this room is.
 |
| {Laundry room / walkway BEFORE} |
Here is where my inspiration comes in. I saw a couple of these little projects in different posts on Young House Love, and the rest I found browsing Pinterest.
 |
| {Sources for 1, 2, 3} |
 |
| {Sources for 4, 5} |
I showed Tyler my inspiration pictures and he was on board and thought it was a good idea. After I pinched myself to make sure it wasn't a dream, I asked if we could do it that weekend and he said ok.......................(wait, WHAT?!) This was back in June and the reason it has taken me so long to share it, well, there is no good reason. It took me a good two months to get it painted and purchase a rug (yes, that's important) and take, upload, and edit some pictures.
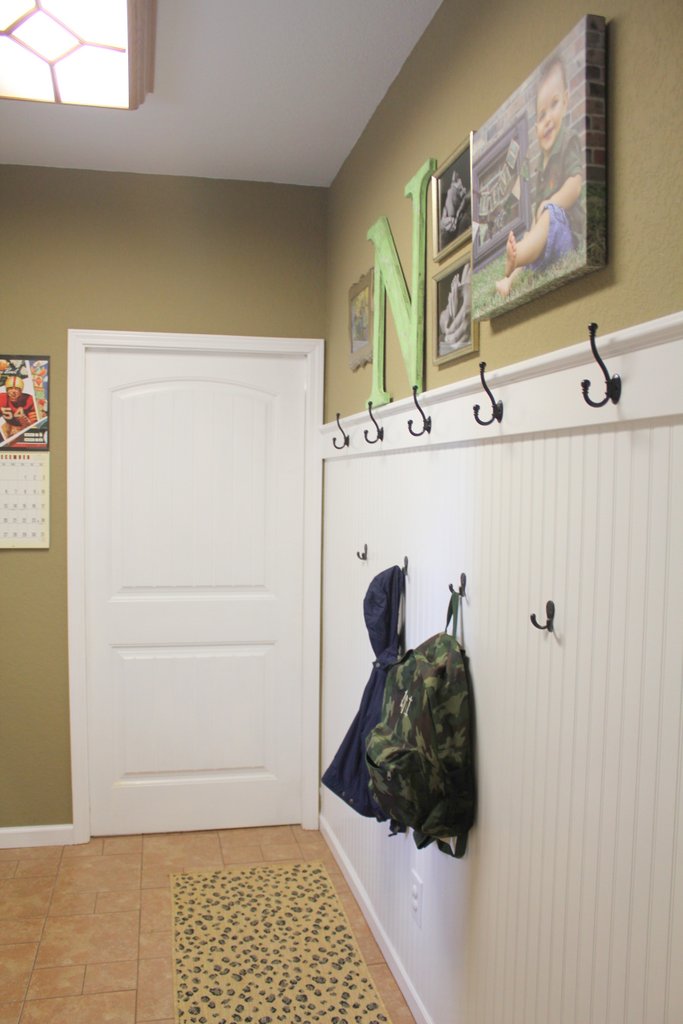
We decided to go with bead board instead of doing the more craftsman-style option (which I do love) for 3 reasons:
1. There is really nothing about our house that is craftsman style
2. We couldn't just use 2x4s and paint the sheet rock because our walls are way over-textured (our painter called it a "Mexico house" and I absolutely agree - our drywall guys didn't listen)
3. Our cabinets throughout the house have a bead board panel so the bead board really works the best
The pictures will explain the rest:
 |
| {Before} |
 |
| {Before} |


 |
| {During Painting} |


I love this!!! Awesome job - it looks great! I've been wanting to add something like this somewhere forever & can't figure out where. You rocked it!
ReplyDeleteI love these type of make-overs. You did such a great job!!
ReplyDeleteWow, I love it! The hooks are perfect! Love everything about it, what a great space!
ReplyDeleteIris
http://nkmommy.blogspot.de/
What a great makeover! I would love to have you come share some of your great ideas at the link party on ‘Or so she says…' There’s one going on right now (and every Saturday – Tuesday). Hope to see you there! www.oneshetwoshe.com
ReplyDelete